
When thinking of animation we like to split production into three broad categories: pre-production, production, and post-production. Pre-production is the part of the pipeline that a company or individual must do before they start getting close to making their animation, mostly involving planning, figuring out blocking, figuring out shots, and getting the basics of what you are hoping the final product might look like.
In this post I will be focusing on what I believe to be one of the most interesting and important things animators consider when in the pre-production phase; camera shots. I’ll go over some of my favorite types of shots, how they affect scenes, why I enjoy them so much, and what you can do to utilize different camera movements and angles so you can figure out if any of these will work for your next animated project.
Pan, Tilt, Truck, and Track
Before we dive into meanings behind shots, let’s go over some of the basics in camera movement: Pan, Tilt, Truck/Track, and Dolly. All of these describe some sort of movement of the camera.

A camera pan describes a horizontal pivot of the camera, or turning the camera side to side. Examples of uses for this type of movement would be for showing surroundings or revealing information around a certain point.
I myself use the term “pan” very loosely in my storyboards and animatics, using it to describe almost any movement of the camera that is horizontal or vertical, but the technical term for it is as stated above. I believe that I should work on changing my vocabulary so that my storyboards can be more clear for others to understand what I am trying to convey in a shot. It is important that storyboards clearly convey what you want to others, but this is a whole different topic for another post.
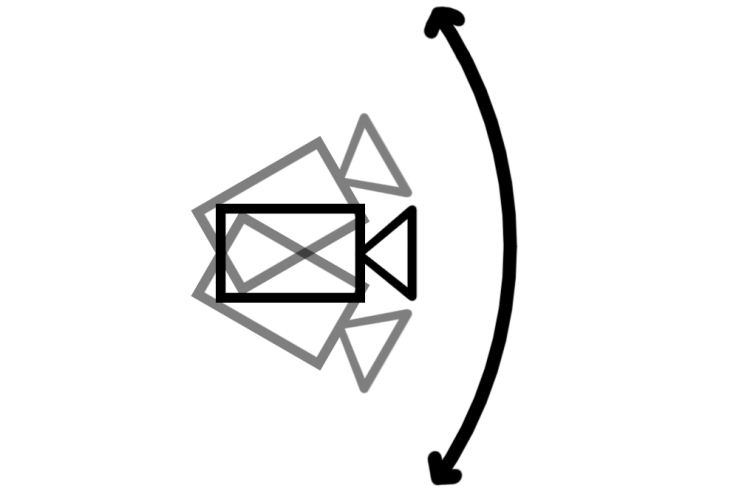
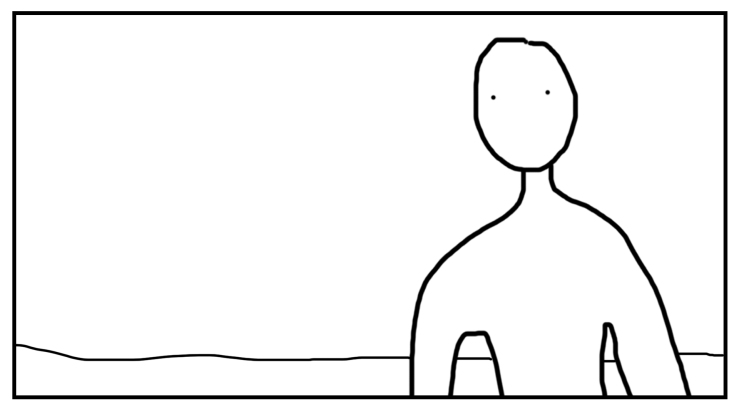
The second type of movement, similar to a pan, is the tilt. This is a vertical pivot or turning of the camera. By far one of my favorite simple movements, camera tilts are often used to reveal specific details about characters (most commonly character’s faces). With a tilt from bottom to top of a character we get to see every detail of their entire physical state, ending with a nice final reveal of the character’s face, showing their emotions and feelings that we were clued in on when we see their body.
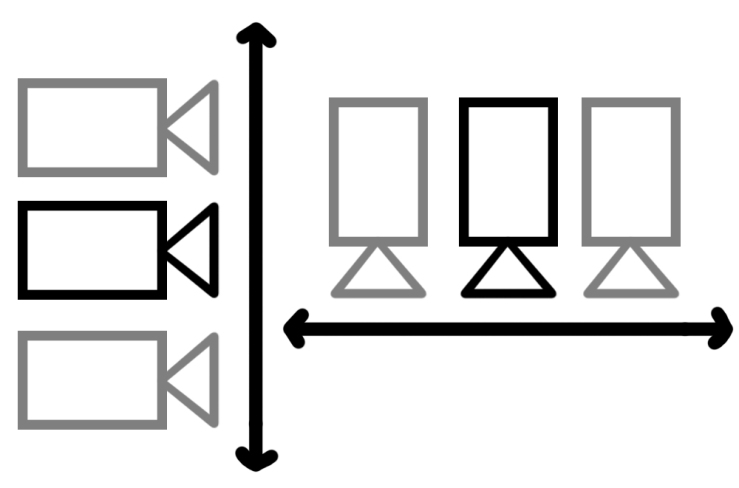
Different from panning and tilting, tracking and trucking is when the camera physically moves from side to side or up and down. With a track or a truck you won’t be able to capture a full landscape like you would with a pan or tilt, rather this is used more often for up close characters and objects that can be captured with smaller movements. Again these play into the idea of revealing information, but I often use a small amount tracking to give my simple animations a bit more movement.
Pans, Tilts, Trucks, and Tracks are the movements that I personally tend to use most often because they are simple, easy to draw, and most programs have the capability to do them without having to redraw every frame. This means that we are able to get unique and interesting movement quickly and smoothly, saving time and effort during projects.
Types of Shots
Now that I have covered a bit of the basics of camera movement, let’s go over some of the kinds of shots these might be implemented in.
Establishing Shots
Usually a shot, sequence, or scene that establishes character, environment, and/or storyline. You will most often see this type of shot at the beginning of scenes, one type of establishing shot that immediately comes to mind is the establishing shots used in a lot of sitcoms where multiple locations are used.
The scene will usually start with a distant shot of the building the characters are in, setting the environment for the scene and possibly giving some hints as to the mood of the scene. Then it will cut to the actual beginning of the scene, up close to characters, usually not revealing much more of the environment.
Establishing shots are important because you want to make sure that your viewers know a bit of what to expect coming into a new scene. If you cut from one scene to another with no sort of establishing shots then the jump could feel disorienting, viewers might feel lost or confused as to where characters are or what characters are doing.
High Angle Shots
These are shots taken with the camera above eye level, sometimes even done with a crane or helicopter. It is also important to note that “bird’s eye view” refers to a specific shot where the camera is pointed directly at the ground.
This is a common type of shot to use in establishing shots because it focuses on what it on the ground in a scene rather than looking too far up and losing information. In a high angle shot viewers can see the a lot of visual information, but it is usually lacking in detail because these shots are typically far away from the subject they are shooting.
Another use for high angle shots is to isolate a character to emphasize loneliness. I often see this shot used in moves when a character has reached their lowest point and feel like they are alone, or when one character dies leaving the other all alone.
Low Angle Shots
Shots taken where the camera is low to the ground. Low angle shots are sometimes referred to as “worms eye view” when the camera is very very low to the ground (“worms eye view” also usually has some elements of the ground terrain in the shot, such as grass or things on the ground).
Most often, low angle shots are used to empower subjects or characters. It makes the characters in frame feel large and looming because they take up so much of the screen.
Another use of low angle shots is to emerge viewers into the environment. Having the camera so low to the ground means that if, for example, you are in a swamp, then the camera must root through the sludge and muck. It brings the viewer right into the environment that has been established.
Framing
There are four main types of framing that are most often used in cinema. Framing is described as how much information we get in a shot/ how close we are to a character. Understanding framing will help us do better at conveying emotion during our scenes and making sure the viewer can understand how the characters feel.
Long and Medium Shots
The farther away pair of the four shots, in these shots the camera will be able to see most of the character’s body.
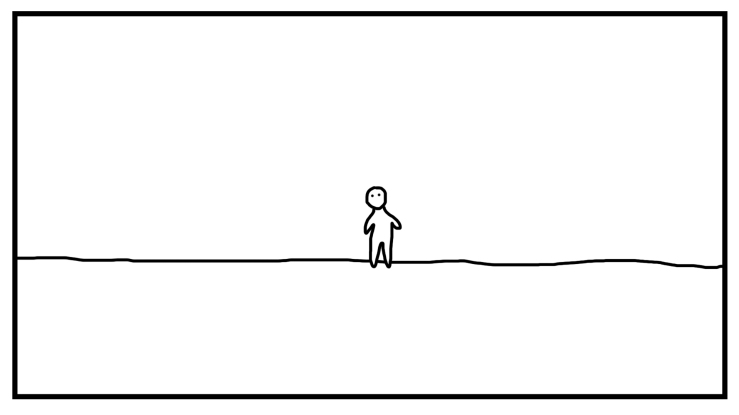
Long shots show the character’s entire body and the environment around them, so they are best for giving environmental information to the viewers. This means that any actions or emotions of the character are going to be harder for viewers to see because facial expressions are usually too small for viewers to notice. Body language can be effective to show emotion in these shots.
Medium shots are the most effective shots for torso movement. If the character is making a lot of gestures and pointing to things then this is the shot to use. The most effective times for this shot is when the director wants the viewers to see what the character is doing rather than how they are feeling. Emotion would still be more effective if they were conveyed through body language rather that facial expressions.
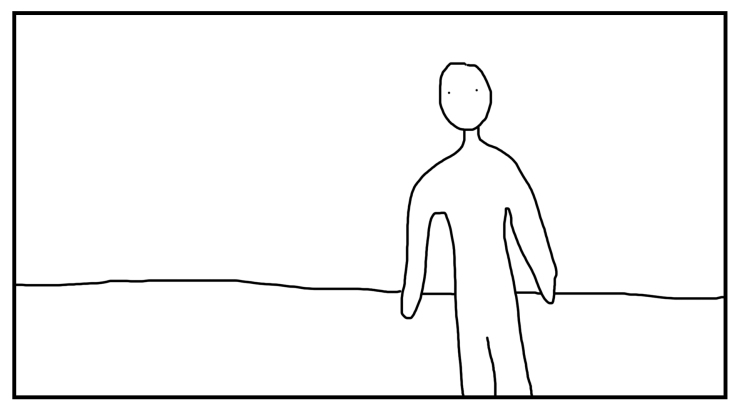
Medium/Extreme Close Up Shots
The closer up of the four shots, these two focus on facial expressions and being very close to the character.
Medium close shots are the most common shots for dialogue. They are close enough to the character that we can see their face, but also can see some gestures. These are also good establishing shot for emotion, unlike the shots before that we better for environment.
Some movies or tv shows tend to over use these shots, where you can get entire scenes of medium close shots switching back and forward between a couple of characters that are talking to one another.
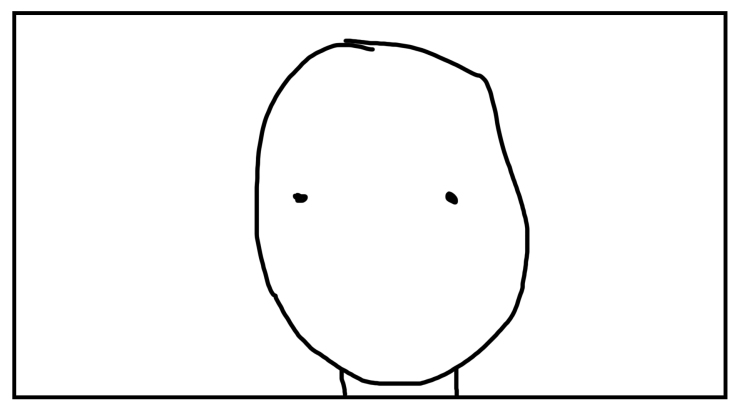
Extreme close ups focus entirely on the characters facial emotions. There is no room for seeing gestures in these shots because the face of the character is filling the entire frame. Most often these shots are used for reactions and response shots. Extreme close up shots also maximize the acting in the eyes of the character.
Overview
So not that you know a bit more about common camera shots, how camera movement works, and how emotion is conveyed best with every kind of shot, you can now go out and experiment with different kinds of camera angles and shots. When making a story board for your next project don’t be afraid to try to draw some different angles that you are not comfortable with, explore the unknown. Using different shots will make your project so much more interesting without even having to change your story or dialogue.
To end this post, here is a storyboard/comic that I did for my class where I tried to play with different shot types.
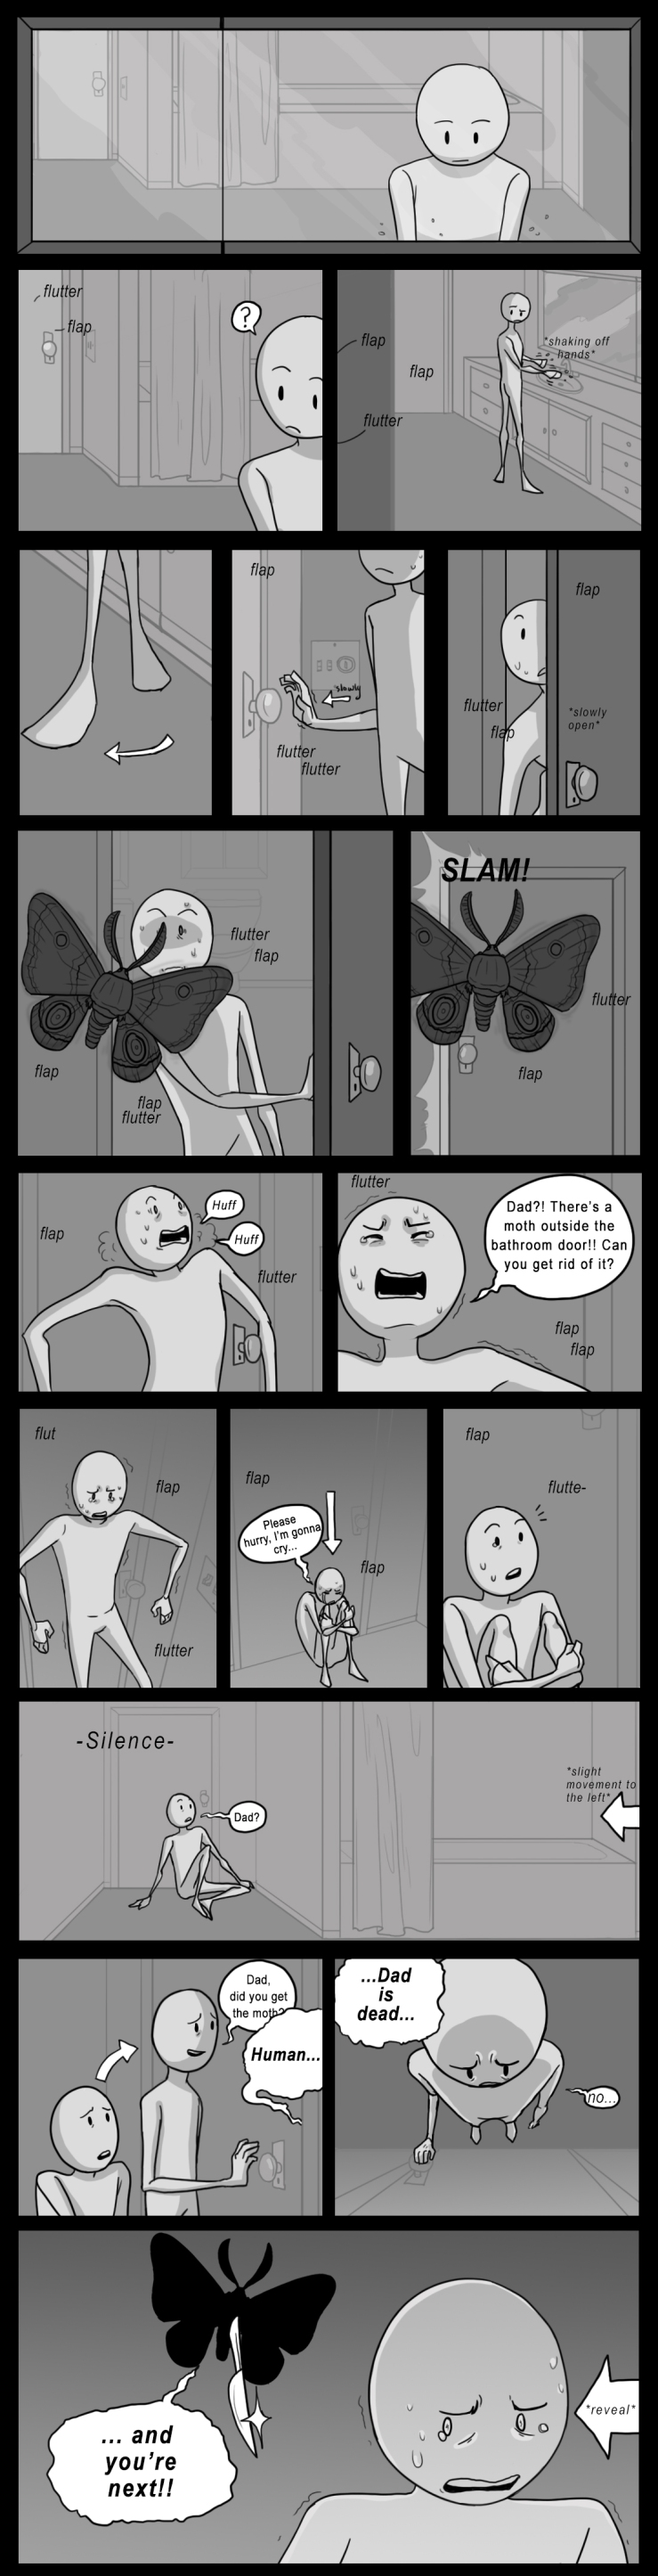
All information from this article came from a California State University, Chico lecture with John Pozi, as well as my own personal knowledge on movies and shot composition.

[…] don’t be afraid to try new things. Head over to my post about types of camera shots to get ideas about how to add a variety of shots to your scene. And don’t forget to have […]
LikeLike